
Stewart’s Donnybrook Automotive, a trusted local car repair service in Tyler, East Texas, knows that changing a tire in theory, and changing a tire in reality, are two different things.
You bring your car to an auto mechanic shop for most repairs: tighten a belt, fix an air conditioner, change an oil filter…but a tire change is important for all drivers to know how to do.
Luckily, it’s not as hard as it can seem.
Here is a quick, helpful list of items to have on hand and know where they are in case of a flat tire:
• The car’s manual
• Spare tire (recently aired up)
• Lug Wrench
• Car Jack
• Gloves
• Flashlight
Ok. So you’ve got a flat tire. What now?
Seems logical, but… It might be necessary to drive a short distance to get to a safe place to pull over, but only drive as far as is absolutely necessary. Drive slowly with your hazard lights on until you’re in a safe spot to pull over. Driving on a flat can cause serious problems to the tire and make it irreparable. It can also ruin your rim. Both fixes can be costly, so keep them in good shape.
One of the most important aspects of changing a tire is making sure you have a safe spot to pull over. Many accidents, injuries, and fatalities occur because motorists haven’t pulled their car, truck, or SUV far enough off the road.
If you have a safety marker and/or flare, and you can safely put them out, it’s a good idea to do so. They are visible markers to other drivers, especially in the dark, that a car is in distress and someone might be outside the vehicle.
Once you’re safely pulled over, gather your tire-changing tool, such as a tire jack and lug wrench (before you get out of the car, if possible). If you’re unsure what you’re doing, take a moment to review the vehicle manual and read specific tire-changing directions for your car.
Also, located your spare tire. It’s important to know where your spare tire is before you get on the road. Is it under the floorboard? Attached to the back of your vehicle?
Place the jack and lug wrench next to each other near the spare tire so you have everything you need on hand. Having the manual available to refer to is a good idea as well.
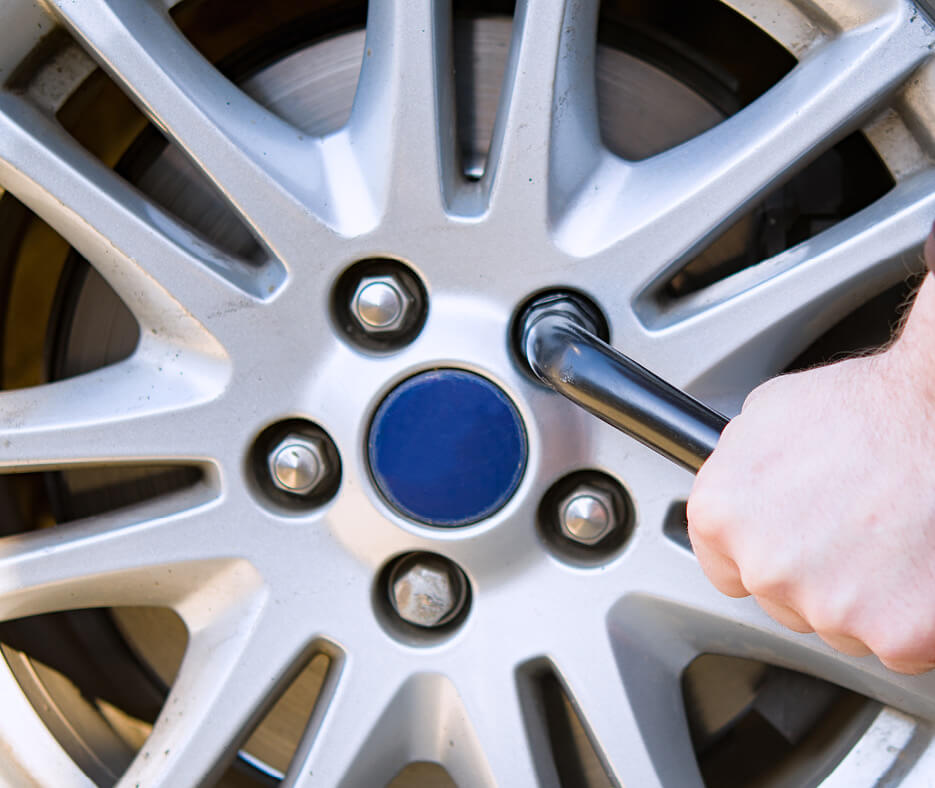
Use the lug wrench to loosen the lug nuts. They might be really tight and hard to twist—don’t be afraid to apply full pressure.
Loosen the lug nuts until you can turn them with your fingers, but don’t take them off, as you’ll risk losing them. Especially if you’re changing your tire in the dark.
Check the owner’s manual for exactly where on your vehicle you should place the jack. It’s extremely important you put the jack in the correct place.
Follow the manual’s guidelines for how to raise the car and how much. A few inches off the ground should suffice. If the jack fails, never put any part of your body beneath the car.
Now that the tire is raised and ready to be taken off, you can fully remove the lug nuts. Make sure you put them somewhere safe so they don’t roll away and get lost. You need them all!
The tire is now ready to be removed! It might take some effort and moving around, but with all the lug nuts removed and the car jack lifting the vehicle, it should come off fairly easily.
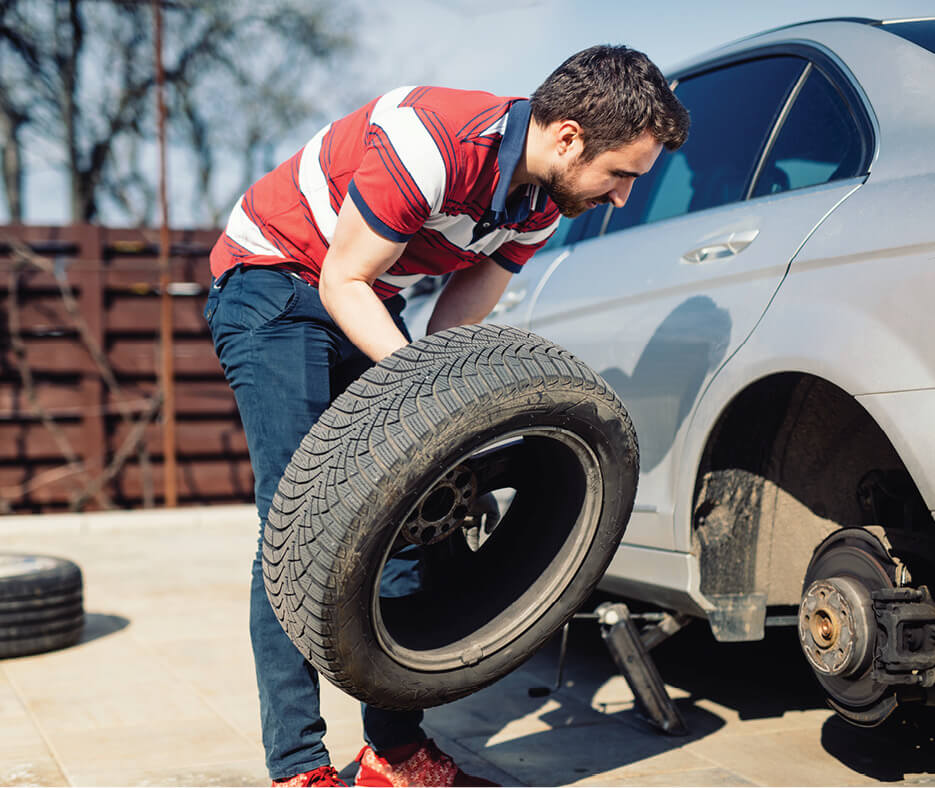
From here, you simply reverse the steps you used to take off the tire.
Fit the spare tire into the empty space where the flat tire originally was. Use your hands to screw the lug nuts back on, but only finger-tighten them at this point.
Now it’s time to lower the car.
Again, it’s a good idea to refer to the manual to make sure you’re raising and lowering the car properly and safely.
When the car is securely on the ground, carefully remove the jack and store it.
Tighten the lug nuts with the wrench as tight as you can, and even go back over and double-check to be sure.
Once the lug nuts are tight, properly store away the rest of your equipment, so it’s ready to use when you need it again.
If you have a tire pressure gauge, it’s a good idea to check the spare. It’s a good idea to keep your spare aired up so you don’t have the unfortunate incidence of both your tire and your spare being flat.
Even if it seems fine, once you’re back on the road, it’s a good safety precaution to stop at the closest service station and check the lug nuts and tire pressure.
A spare is called that for a reason. It’s not meant to be driven any great distance. Take your car to your trusted local mechanic as soon as you can to get your tire fixed and/or replaced.
If you’re worried there might be more significant issues than just the flat tire, or if there are issues with your tire or spare, or if you’re not in a safe place to change your tire, it’s a good idea to call roadside assistance.
However, it’s important to note that roadside assistance might not be able to reach you for a prolonged time—maybe even hours.
While changing your tire can be intimidating, it’s important to know how to do it.